Console App in Visual Studio#
This tutorial describes how to create, run and debug a console application in Visual Studio. Assuming you have installed following:
Create a project#
First you need a project. Create one right from Visual Studio -
either from the Visual Studio 2019 start screen using Create a new project, or in the menu File | New | Project (Ctrl+Shift+N).
Select the PHP language and search for "PeachPie" in the project templates. A list of various project templates will be populated.
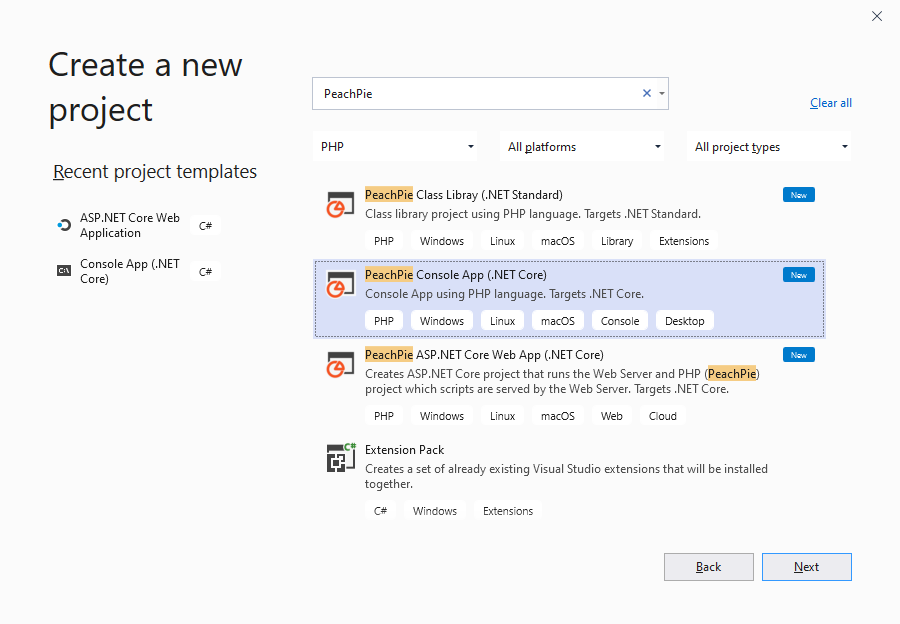
In the window select PeachPie Console App (.NET Core) template, and then continue with Next.
If you do not see the project template, make sure you have installed the PeachPie for Visual Studio extension.
In the next step, choose a project name and its location. Continue by pressing the Create button.
Build and Debug#
The application can be built in order to create a binary file, run and debugged.
The binary file is an executable running under .NET Core Runtime. It allows to be executed on Linux, MacOS, Windows and other supported systems.
Build the app#
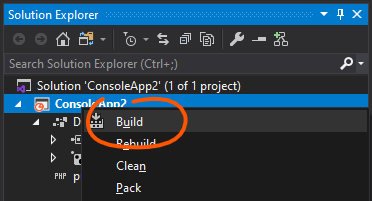
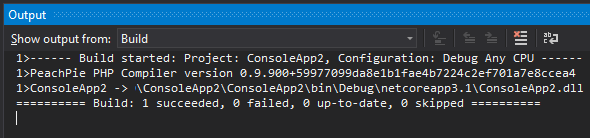
In the project menu, choose Build. In case of any issues, see the Output pane in Visual Studio, which provides a log with the build process, potential exceptions and other issues.
Debug the app#
Choose the green Start button or press F5 to build and debug the application.

If your console application doesn't contain any errors, you'll see a console window with the "Hello World!" text:
Hello World!
ConsoleApp2.exe (process 14116) exited with code 0.
Press any key to close this window . . .
Set a startup object#
You already have a simple hello world application, consisting of a single script file. However, the application will need to know where to run from once there will be more logic and more code.
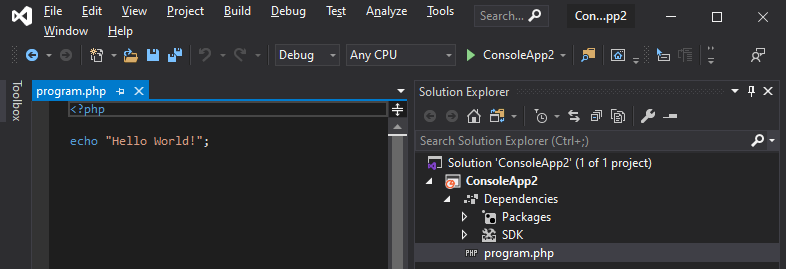
By default, using this project template, the application starts with the program.php script file. This is a build property of the application, and you can only have a single startup script specified.
The startup object is a build property, so you can specify just a single startup object for the project. However, you can define more build configurations, each with different properties.
Let's create a function main() and set it as the startup object instead of program.php.
Add function main#
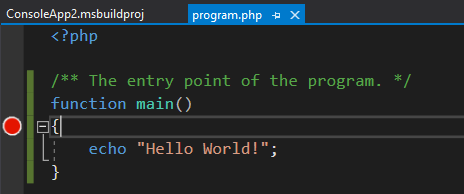
Replace the code in program.php with the following:
<?php

/** The entry point of the program. */
function main()
{
    echo "Hello World!";
}
If you were to start the application now, nothing would happen. Nothing is calling the new function and thus the program simply exits.
Set new startup object#
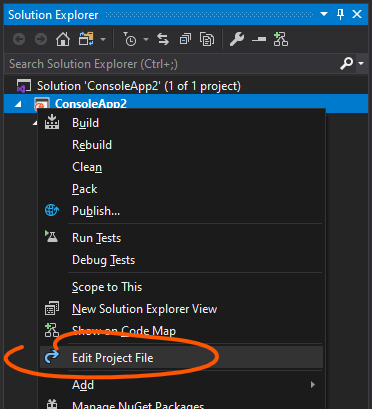
To control what runs after the application starts, we have to change the build property StartupObject. Edit the the projecty file by right clicking on the project in the Solution Explorer and choose Edit Project File.
Find the line with
<StartupObject>program.php</StartupObject>
and change it to the following:
<StartupObject>main</StartupObject>
Here you can specify any PHP file relative to the project root, or a function.
Run the program again#
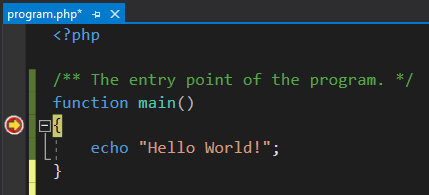
Try it again. Put a breakpoint (F9) as depicted in the screenshot below:
And start debugging the program (F5). The application will recompile, and start while being debugged.
Next steps#
- Add more code
- Create a self executable
- Integrate with C# or NuGet packages